

Getting Started with Automated Welding Systems
Automated welding is the way many manufacturers are fabricating these days. With that, there are a lot of misconceptions about how easy automated systems are to use and if the benefits outweigh the struggles.
Automatic welding has a host of clear perks such as improved weld quality, faster cycle times, and a better working environment for welders. A common restriction is that robots require a certain skillset to program and run the equipment smoothly. Don’t worry, the technology has advanced greatly, leading to simple ways to accomplish quality automated welding without the hassle.
We’ve unpacked the most optimal process for getting started with automated welding systems so you can benefit from high-quality welding with less stress!
1. Define Welding Type & Tasks
With any welding project, you’ll need to first define and understand the task at hand. What type of welding will be needed? Which steps will the robot or automated welding machine need to perform? There are a variety of different welding types—below are some of the most common:
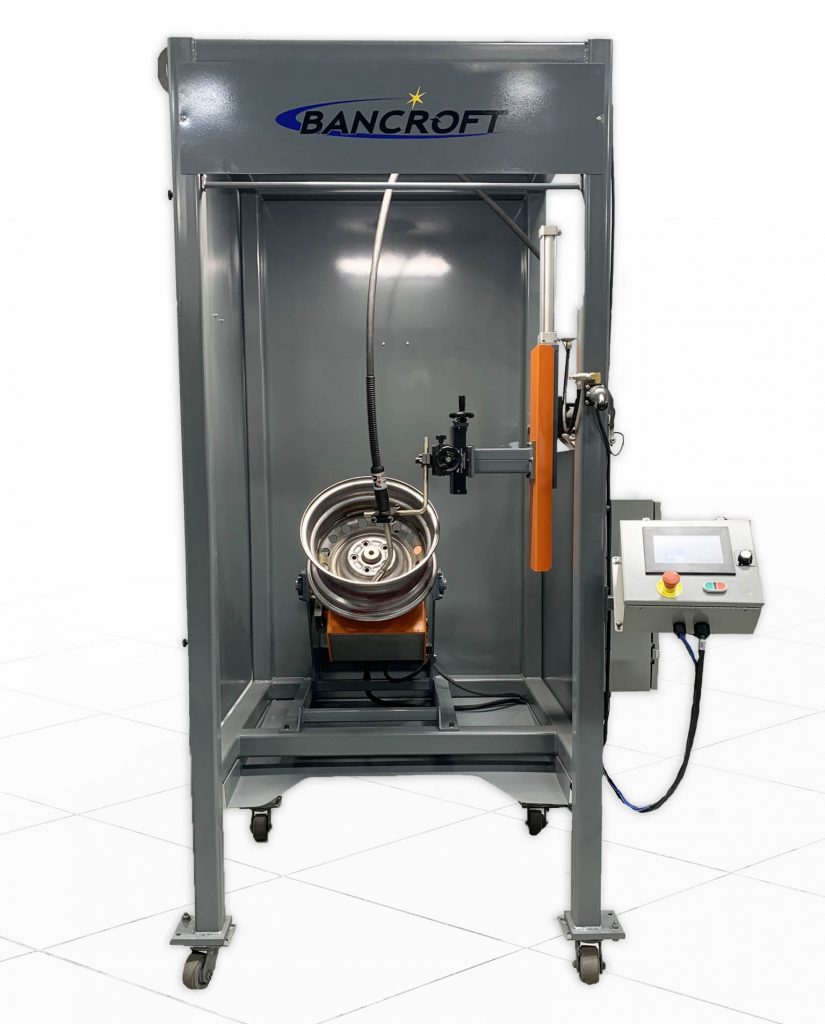
- Circumferential (Rotary) welding
- Linear (Seam) welding
- Resistance (Spot) welding
The technical specialists at Bancroft Engineering can help you confidently define the scope of your welding project and automated system requirements so your job will be successful—get in touch with us.
2. Secure the Needed Equipment
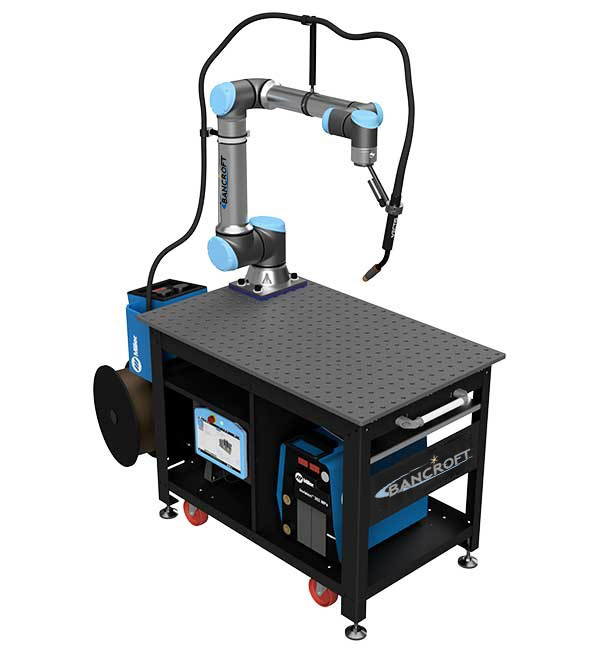
Now that you’ve clearly defined the task and welding type needed, it’s time to pick the right automated welding system—whether that be a robot or semi-automated welding machine. Most welding systems require the following pieces of hardware/software:
- The robot or the welding machine itself
- The welding tools & fixtures
- A user-friendly programming interface
- Welding power supply and consumables
- Safety measures such as barriers or sensors
3. Determine Proper Weld Settings
There are basic guidelines for picking weld settings, but they can vary from model to model and certainly from brand to brand. To get to the best weld setting, a number of considerations must be made including:
- Type of metal you are welding
- Cleanliness of the joint
- Joint design
- Material thickness
- Proper wire size
- Voltage
- Wire feed speed
- Travel speed
- Torch position
- Shielding gas
This can seemingly be a daunting task, but any good welding equipment manufacturer will have engineers on staff to assist with this process.
4. Program, Test, & Debug
Programming an automated welding machine requires a trained specialist for the initial start-up. This only needs to be done upon setting up your system for the first time. General maintenance programs and welding schedules can be created and modified with little training throughout the lifestyle of the system.
Once your system is in place and programmed correctly, it’s time to sit back and watch the system make magic happen!
5. Team Up with the Right Automated Welding Provider
Lastly, team up with a reputable welding automation provider who can walk with you every step of the way. From concept to installation and run-off, the team at Bancroft Engineering is here to ensure your new welding system is successful!
Bancroft offers both customized welding machines and a variety of standardized semi-automatic welding equipment in stock such as positioners, Welda-Round rotary welders, seam welders, weld-lathes and much more!


